You’ve been working hard gathering inspiration and other materials for your next design project, so don’t let a blunder like choosing the wrong file format or tool stop you in your tracks before you’ve even started.
When it comes to graphic design, file types matter, and the right one can mean the difference between a logo that looks great with no artifacts at any size—perfect for today’s various digital devices and print needs—and one that’s a small, pixelated mess when viewed at anything other than its native dimensions.
Vector files, unlike rasters, are made up of lines and shapes, not individual pixels, so you can stretch and resize them to your heart’s content without reducing the quality or fidelity of the source file. Rasters, on the other hand, look best at a specific size or smaller, as they’re made up of hundreds or thousands of tiny dots corresponding to specific colors and their placement within the larger image.
Because rasters are typically compressed from a raw source file into a lossy format, they’ll likely have artifacts and other visual issues even at their native resolution — and it’ll only get worse as you resize, crop, and shift colors for different uses over time.
It’s even more difficult if you have a hand-drawn design with no digital file available to work on. But that’s another subject we’ve covered before.
Here, we’re exploring vector image formats and why you need them for your design projects, whether it’s for a logo design or vector graphics for other purposes.
Before you start thinking about how to make a vector image, it’s important to know the basics of when and where to use vectors versus raster images.
- Why Vector Images?
- How to Vectorize a Logo Design
- Creating a Logo from Templates
Why Vector Images?
If you’ve ever tried to increase the size of a typical image you find online, you’ve likely encountered the number one use case for vector images – also known as SVG files.
Vectors are perfect representations of the original format — no matter the size — and they scale up or down without issue. You could argue that vectors don’t have pixels, or you could argue that they have an infinite number of pixels because they can be zoomed infinitely!
Vector images come in various vector formats, such as EPS, SVG, and AI, which are essential for different applications like printing and web design.
This is in stark contrast to rasterized or pixelated images that are best seen at one native resolution or smaller and cannot be manipulated without losing quality and fidelity in the process.
The secret is that vectors are made up of scalable lines and shapes embedded with true colors, not the fuzzy, color-per-pixel matrix you’ll find with raster images. Funny enough, though, most images you encounter online are intended to be unfaithful representations of their sources, mainly for bandwidth reasons — and meant for highly specific applications such as appearing on a certain webpage at a certain size.
Indeed, a rasterized image’s file size can be a fraction of its uncompressed, full size. Multiply that by dozens or hundreds of images found on a typical webpage. It can mean the difference between a page that loads in a second or two and something that crawls along for 10 or 20 seconds before a visitor hightails it and leaves.
Speaking of speed, your best bet is to ensure your site loads as fast as possible to adhere to the latest SEO standards and to ensure your site ranks higher in search engines.
Our FreeLogoServices Website Builder ticks all the boxes regarding website speed, security, and uptime. It’s also 100% compatible with vector images and vector logo designs.
Unfortunately, however, vectors are a bit more complicated to create than your average raster image, which typically limits their use to logos and designs that are frequently resized — even though raster images are popular formats for exported versions of vector images.
But regardless of your bandwidth needs or the file type of your image’s final export, working with a vector gives you the most flexibility and maneuverability when it comes time to create that webpage, newsletter, or app, since you can easily manipulate and stretch a vector prior to a rasterized export — just make sure to keep the original source vector handy.
So, without further ado, here’s how to make a logo with vector images.
Step 1: Choose Your Tool
Because there are so many image creation and editing tools out there — from quick online tools to full-featured desktop apps that take years or decades to master — it can be hard to know where to start with vectors.
One of the most popular tools is Adobe Illustrator, an industry-standard graphics software for Mac, PC, and other platforms. Illustrator and similar editing tools can process vector data in unique ways, enabling users to perform a variety of actions on geometric shapes and paths.
Other solutions, such as our free online logo maker tool, take a lot of the guesswork out of creating a vector logo by providing you with templatized designs and step-by-step guidance that can help novices create vector-based logos with minimal fuss and time.
Illustrator and other full-featured desktop tools, with their steep learning curves and expensive pricing structures, are better for seasoned designers.
In general, if you’re new to vectors, you’re probably better off with an online tool that will walk you through creating a vectorized logo quickly and easily.
Step 2: Pick Your Colors and Decide on a Concept
Whether you’re designing a corporate logo with a little bit of flourish for a social media profile or just something simple for your portfolio, you’ll have to make some decisions before you get to the design bits.
For vectors and logos, less is more, so pick two or three colors that work well together and consider the overall direction you want to take with your vector logo.
Once you have your colors and concept set, you’re ready to start designing.
Step 3: Sketch It Out
Before you start clicking away, grab a pad of paper, crayons, colored pencils, markers, pens — whatever you have available — and sketch out a handful of ideas.
Try different colors, shading and accents; the more ideas you try here, the better equipped you’ll be when you jump on the computer.
Especially if you’re not well-versed in computer design, you’ll save a ton of time and headache with reliable tools before you start fumbling around through menus, keystrokes, and clicks. Even a pen and a piece of lined paper are great for jotting down quick ideas that would take you much longer to realize on the computer — and they may not work anyway.
Step 4: Start Designing Your Logo
In Illustrator, create a new blank document (File > New) and start with the shape tool. Pick one of your colors and begin drawing and manipulating shapes while using your reference sketches, layering where necessary and arranging everything into the concept and colors you chose in the previous step.
Realistically, you’ll need to be familiar with various design concepts and principles (and have a lot of time) to turn your blank canvas into something resembling a completed logo.
A logo editor can simplify the process of customizing logos, making it accessible even for those with no design skills.
Here’s a basic primer that may help you create a pretty simple illustration.
How to Vectorize a Logo Design
If you already have a rasterized logo or a design that you’d like to turn into a vector to be resized for a specific application, the good news is that you can use Illustrator or other vector-based design tools to trace your existing image and then tweak it from there.
Here’s a great article from our friends at MakeUseOf that covers just that. However, note that it could take hours or days to properly vectorize an image, especially if you’re new to Illustrator or have a limited design background.
And, unless you’re looking to become a designer by trade, your time may be better spent taking advantage of tools that make the process easier and allow you to start by browsing designs, not staring at a blank screen.
Creating a Logo from Templates
Our online logo making services (and other online tools like ours) take a lot of the guesswork out of creating logos by providing you with various professional templates and already completed logos for you to modify, tweak, and save for your own use.
Start by loading up our free logo creator and choosing from a few standard logo styles. The logo maker tool also offers a library of free icons, which you can use to enhance your logo designs.
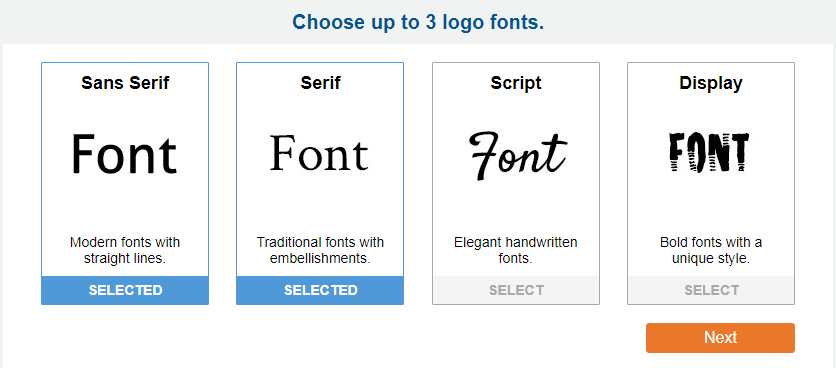
Next, pick a font that captures the design aesthetic you’re going for. In general, serif fonts—which have decorative lines and tapers—look and feel more traditional than sans serif fonts, which have a more modern look.
But these aren’t absolutes; there are plenty of ways to make a serif font look more modern or to make a sans serif look more traditional.
Even if you’re not sure, or you’ll know when you see it, you can try out multiple fonts and see how text treatment can lend a different character to your design.
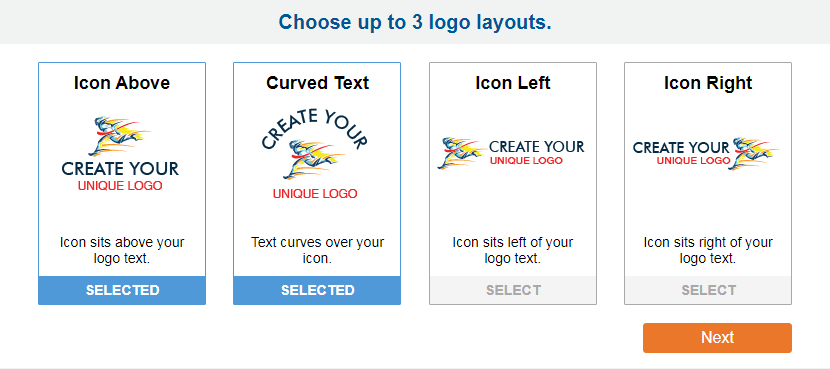
After that, simply choose a layout that best represents your intended use, whether that’s an image at the top with text underneath, text in the middle, text off to the side — or whatever it is that catches your eye.
With all your options selected, we’ll show you various logo concepts that fit your parameters and preferences.
If you change your mind, you can easily customize the results from the left-hand toolbar, or you can use our custom logo search to find specific logos to use as a starting point.
Once you’ve chosen a design, customize it by clicking the edit button. Here, you can revisit the layout, colors, and text in an easy-to-use editor that does much of the heavy lifting for you.
Step 5: Save Your Logo
When you’re done editing and tweaking your design, it’s time to save. Typically, this is done in your program’s File > Save or Export menu.
But be careful.
You’ll want to save your logo in the right format to ensure compatibility and the ability to resize down the line. If you save it as a PNG, TIFF, GIF, jpeg or other raster export , all your work will be for naught unless you also save a vectorized version. (Here’s a free tip: make sure you’re aware of proper file types for image transparency.)
The good thing is that there are plenty of vectorized file formats, and any one of them is fine for futureproofing your design.
AI (Adobe Illustrator Artwork) is the native file format of Illustrator. When you go to save your file, it’ll typically default to this file type, and if you only want to work in Illustrator and other systems that open and work with AI files, there’s not much more you need to do.
However, if you want to collaborate with others or send the file to a client for additional uses, it may be best to use a standard vector image file type that doesn’t limit your options.
EPS (Encapsulated PostScript) and SVG (Scalable Vector Graphic) are two universal file types that work in various programs — SVG also has the distinction of being supported by most web browsers — and it’s not a bad idea to save multiple copies of your logo in AI, EPS, and SVG format to cover all your bases.
Our free logo designer does this, and it’s a crucial aspect of vector-based designs — after all, if you don’t have your logo’s source file in multiple compatible formats, you may be limited in the changes you can make in the future.
Once you have your vector saved in the appropriate vector-based formats, you may also want to save out rasterized versions for email or other uses, though you could always go back and create an export whenever needed.
Note that many social media platforms still rely on rasterized images of specific sizes, so you’ll need exports for these anyway.
Final Thoughts: Vector-Based Design for the Win!
With these simple tips, we hope we’ve helped you understand the benefits of using vectors in your important design projects.
While there are still many uses for raster images in digital design, vectors are best for logos and images that must work across multiple devices, screens, print applications, etcetera.
A brand kit can help maintain brand consistency by storing essential brand elements like logos, colors, and fonts.
Once you make the switch to vector files, you won’t want to deal with blurry, pixelated raster images ever again! We don’t blame you, and we welcome you over to the vector side. Better yet, cut some time out of your next vector-based logo project and give our free tool a try.
It’s easy for novices, those new to design, and even experts can cut down on design time by loading one of our beautiful designs into their favorite editing tool.

